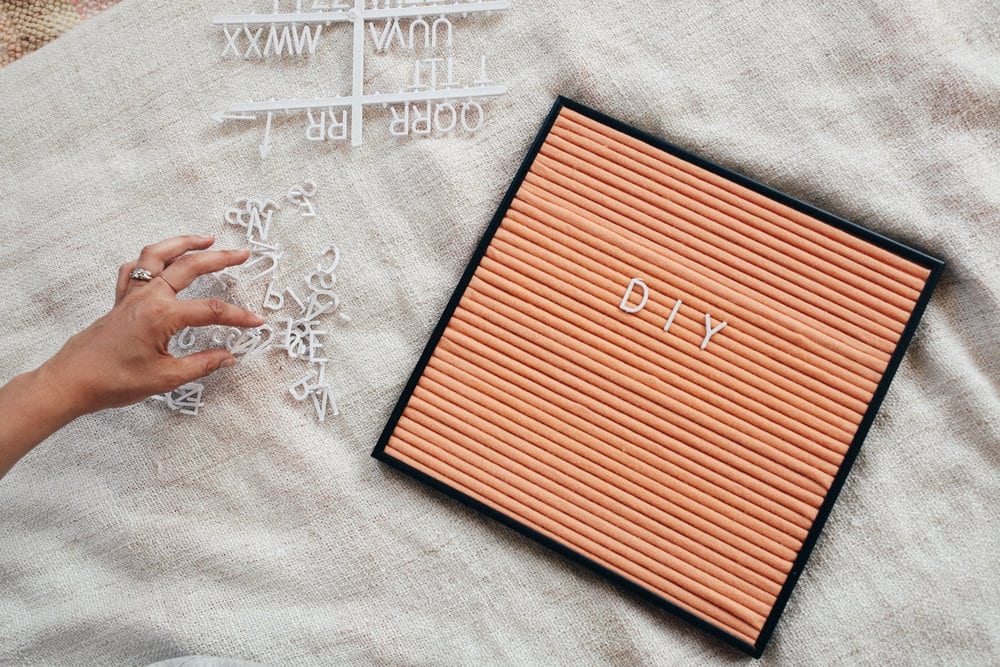
This Letter Board DIY was so easy and really fun to do. I have been looking around online forever for a pink letter board, but they were all so darn expensive. I came across a DIY letter board on Pinterest and was SO excited.
Tools Needed
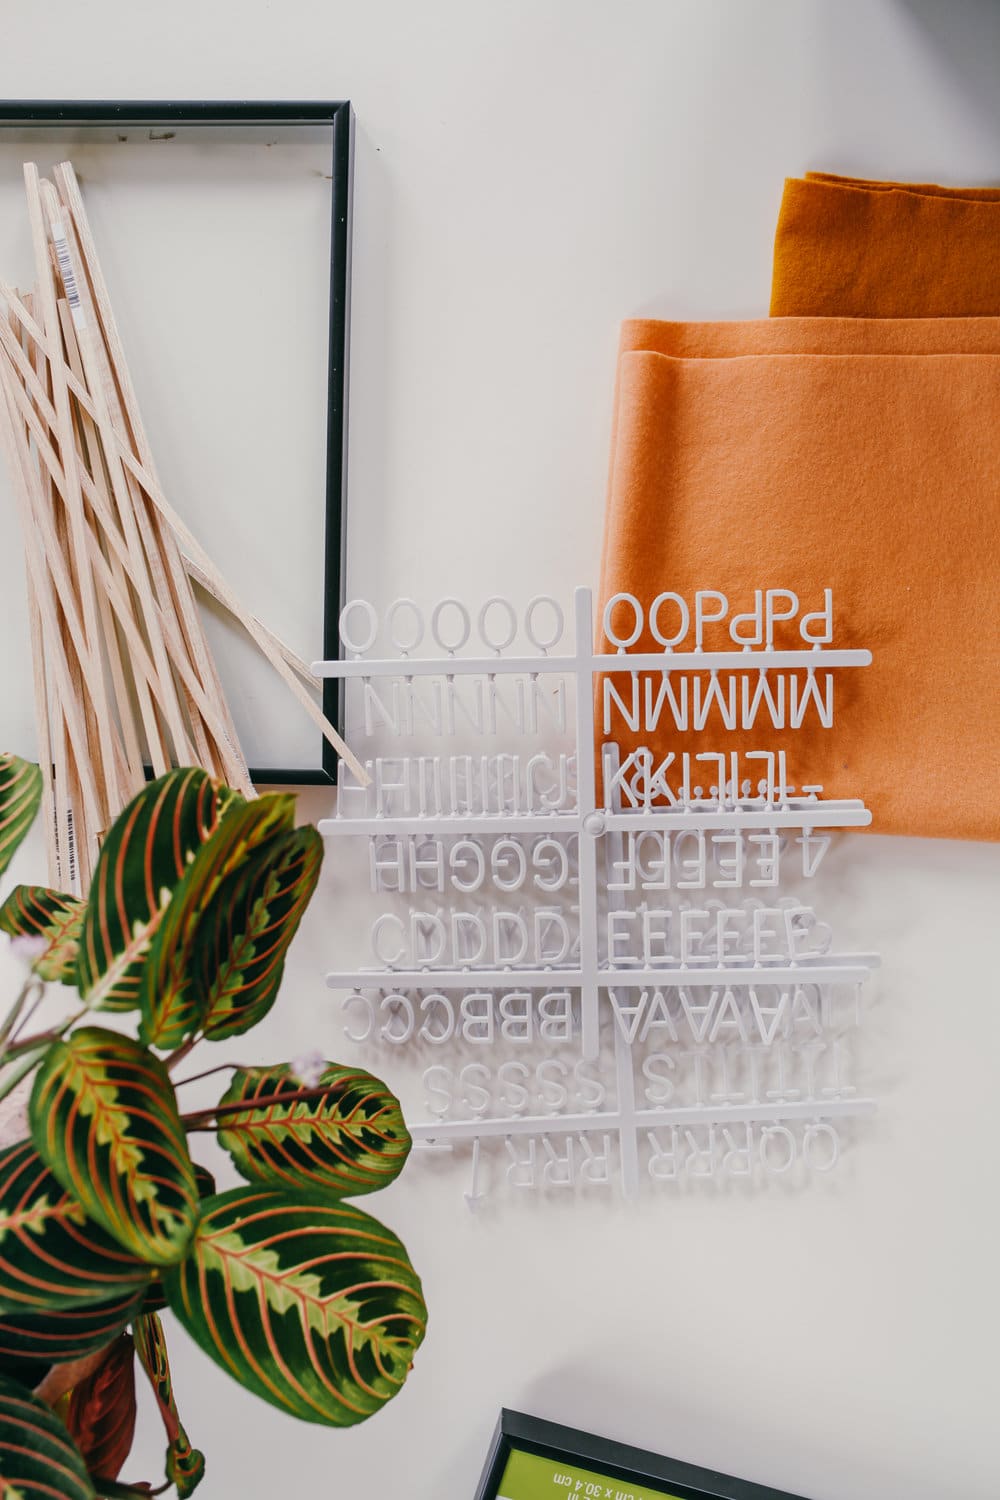
- Frame – buy one that is thick enough for the wooden dowels to fit under
- Plastic Letters – we bought them online from good ‘ol Amazon.
- Wooden Dowels – These can be bought at a craft store (.125 inch)
- Felt
- Glue Gun
- Ruler or a card from your wallet works great too!
How to Make a DIY Letterboard
STEP 1
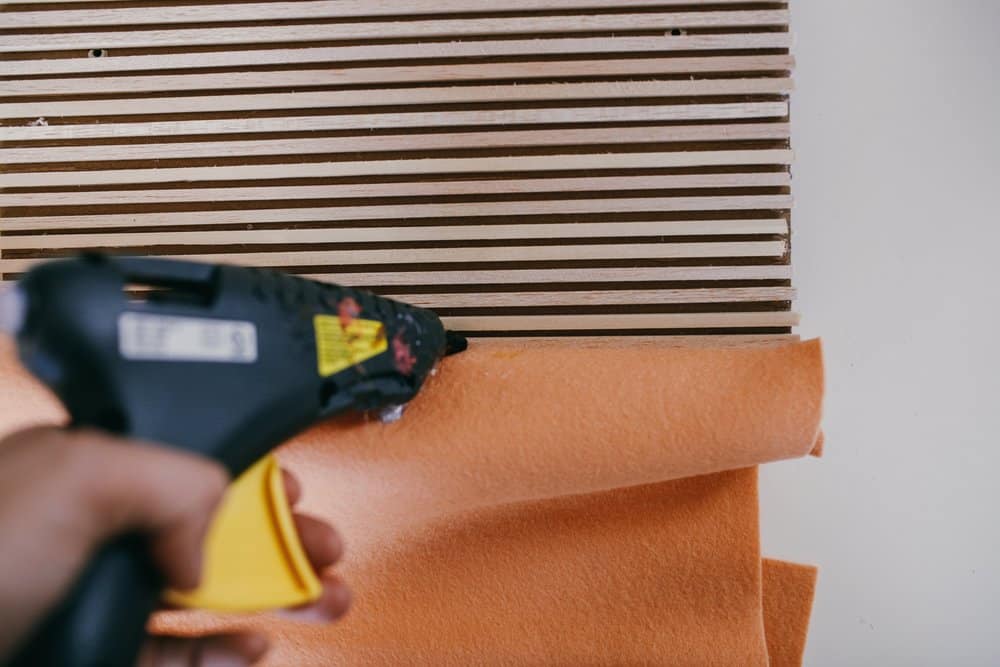
Cut dowels to fit frame – these are surprisingly easy to cut as the wood is very soft. We bought them about a meter long and cut them into 12″ pieces. Space the dowels evenly and hot glue them to the back of the cardboard from the frame. Use the letters as guides on where to space the dowels, you want to make sure the letters can evenly slide through!
STEP 2
Cut felt the same width of your frame, but leave lots of room lengthwise – you will be pushing the felt in between each dowel which will take up a lot of the length off. We actually ran out of felt and had to buy more, but could seamlessly add it to the frame, so don’t stress too much about the length, it will make it a lot easier though if it’s long enough 😉 I’d say make sure it’s about double the length before starting!
STEP 3
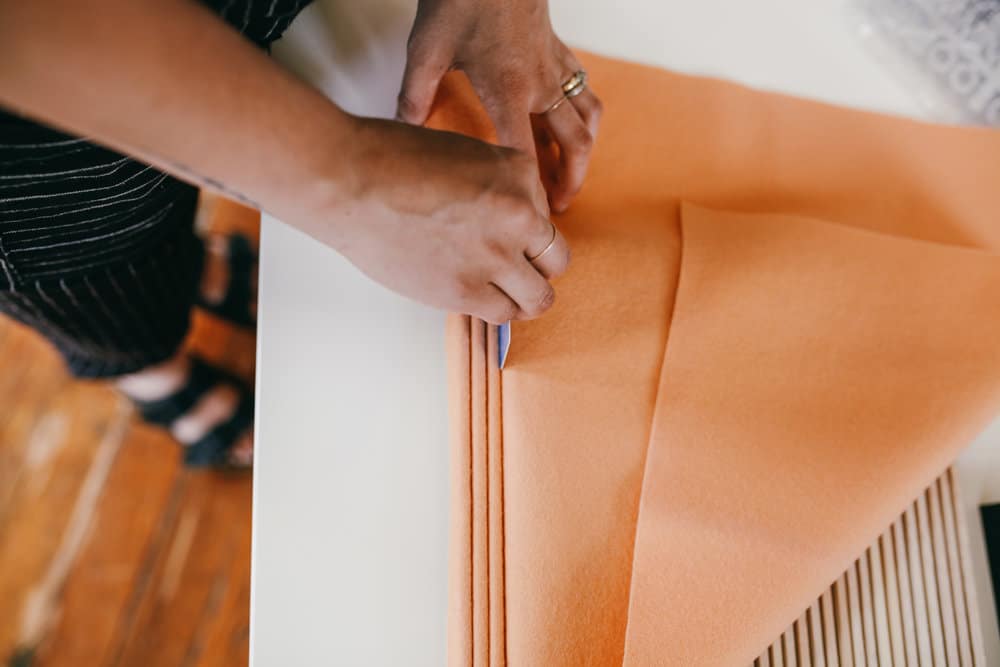
Apply a thin strip of glue across the dowel, and press down firmly. Using a ruler or card, press the felt into the space between the two dowels. The first few will seem a bit tricky, but you’ll get the hang of it and get quicker! you don’t need much glue as it will hold itself into place, but the glue helps it not to slide out of the crack when you’re pressing it into the next one!
STEP 4
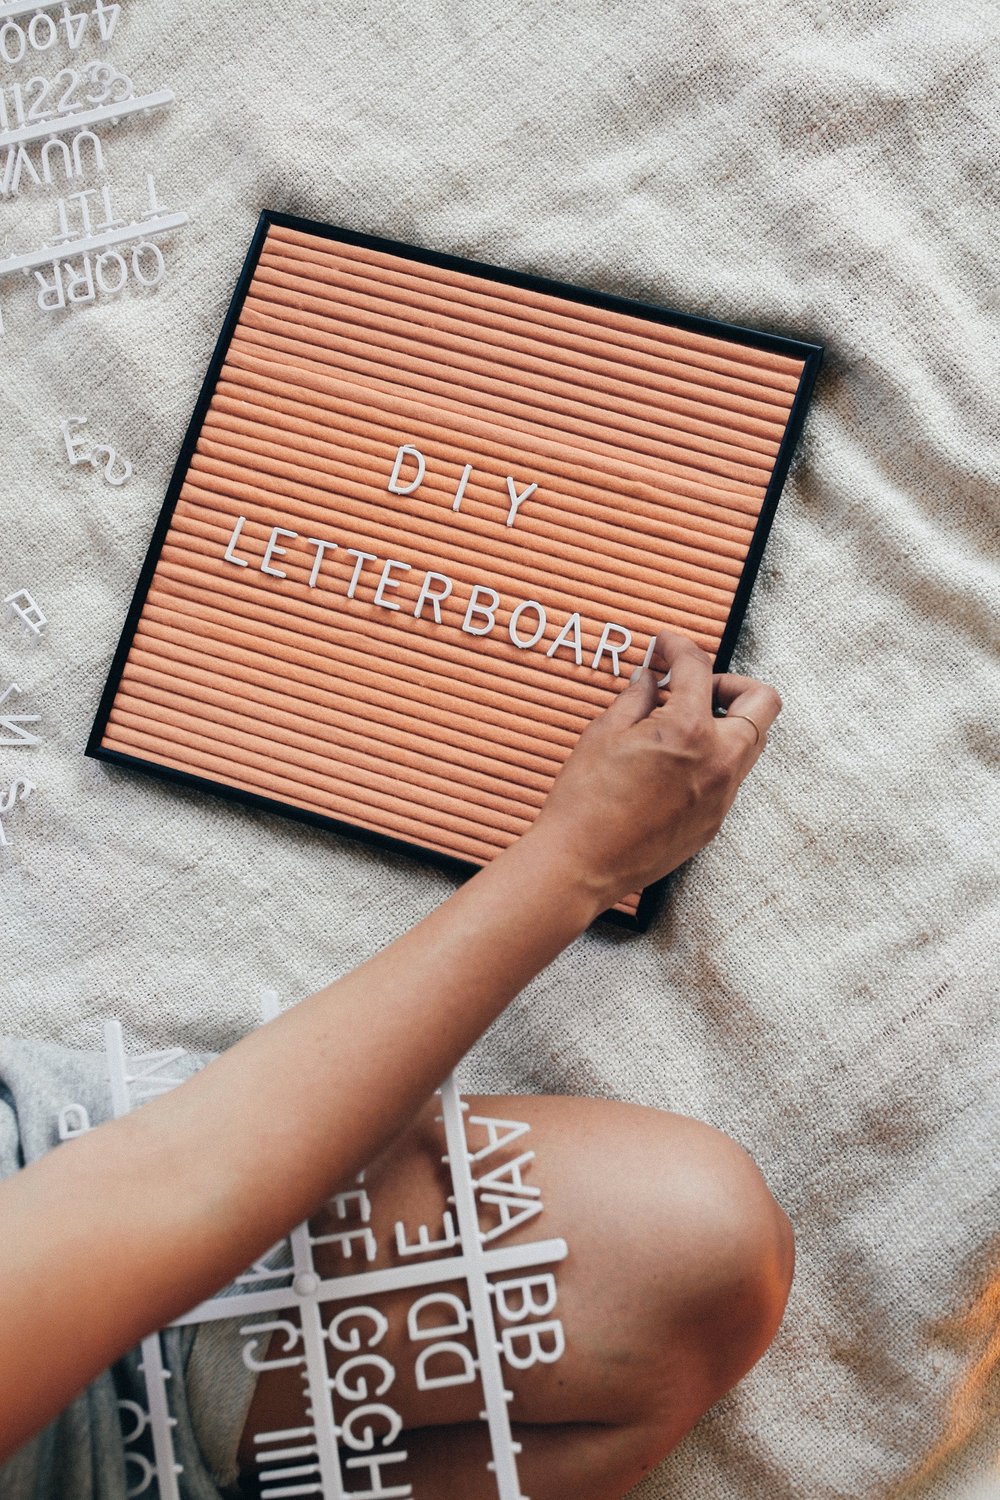
Place felted covered dowels into the frame and add get creative! I find this the hardest part trying to decide what witty thing to write.

