If you’re anything like us you usually leave it to the day of Halloween to start throwing together some sort of costume. So we decided to give you a little inspiration! We put together a couple fun and cute costumes using Shabby Apple’s tulle Bloom skirts. There were so many ideas that went around in our heads for these cute ballerina style skirts, but I love the sweet treat inspired costumes we settled on.
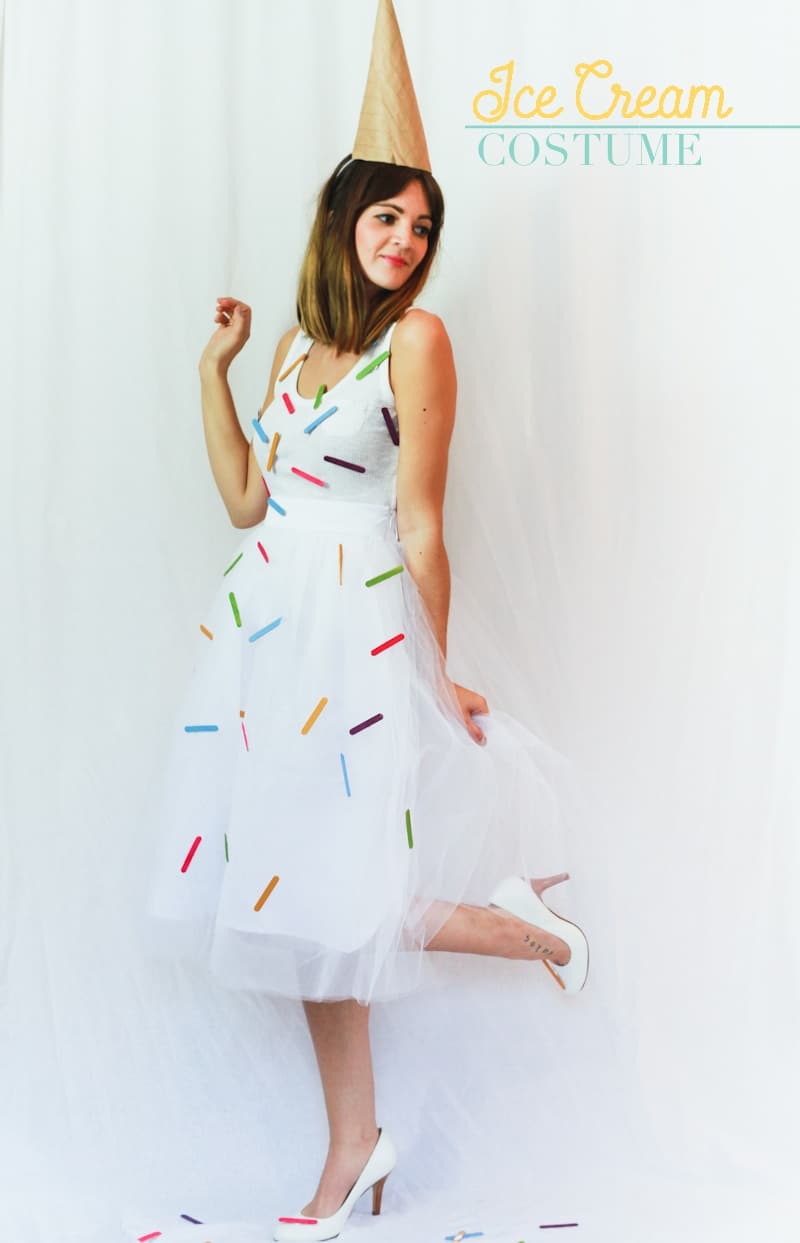
Tools Needed for Ice Cream Cone Costume
- White Tulle Bloom Skirt
- Mini Popsicle Sticks
- White Tee or Tank
- White Shoes
- Brown Paper
- Bobby Pins
- Coloured Paints
- Safety Pins
- Hot Glue Gun
Ice Cream Cone Costume DIY
- Cone: Cut a sheet of brown paper in half diagonally and roll into the shape of cone, secure with tape. Attach the cone to your hair using bobby pins, poking a hole threw each side of the paper cone and securing to your hair – or – use hot glue to glue the cone to a headband.
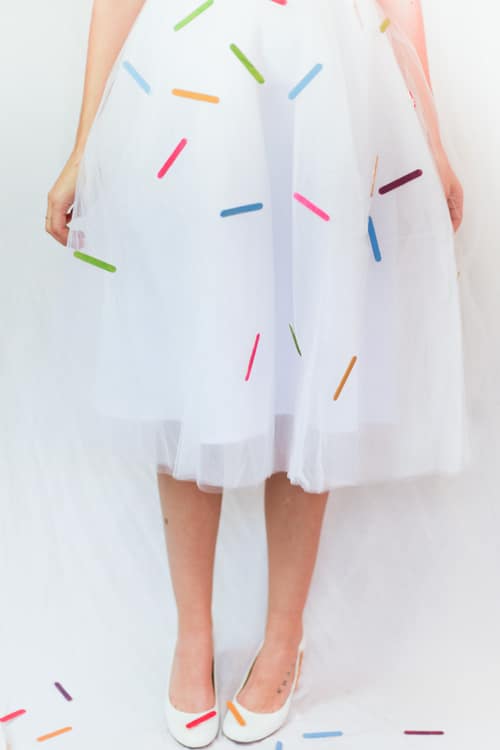
- Sprinkles: Paint the mini popsicle sticks an assortment of bring colours and use hot glue to secure a safety pin to the back of each sprinkle. Attach the sprinkles to your outfit using the safety pins.

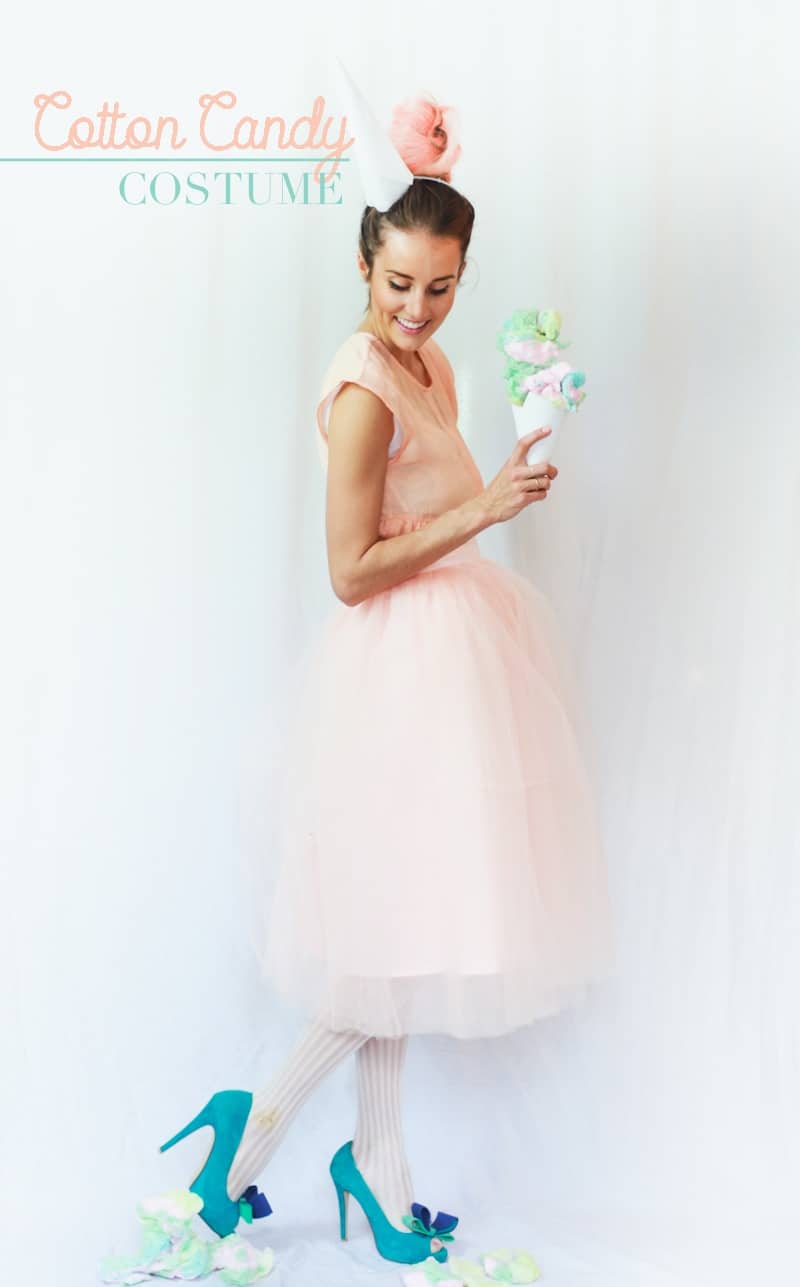
Tools Needed for Cotton Candy Costume
- Pink Tulle Bloom Skirt
- -Pink Hair Chalk
- -Pink Tee or Tank
- -Pink Tights
- -Pastel Coloured Shoes
- -White Paper
Ice Cream Cone Costume DIY
- Cone: Cut a sheet of the paper in half diagonally and roll into the shape of cone, secure with tape. Attach the cone to your hair using bobby pins, poking a hole threw each side of the paper cone and securing to your hair – or – use hot glue to glue the cone to a headband.
- Cotton Candy Hair Do: Colour the ends of your hair with pink hair chalk then follow our Top Knot Hair Tutorial. In the Top Knot hair Tutorial, add lots of extra back combing. Once your top knot is secure spray with hair spray then tug the edges and rub them between your fingers to give it a flossy look.