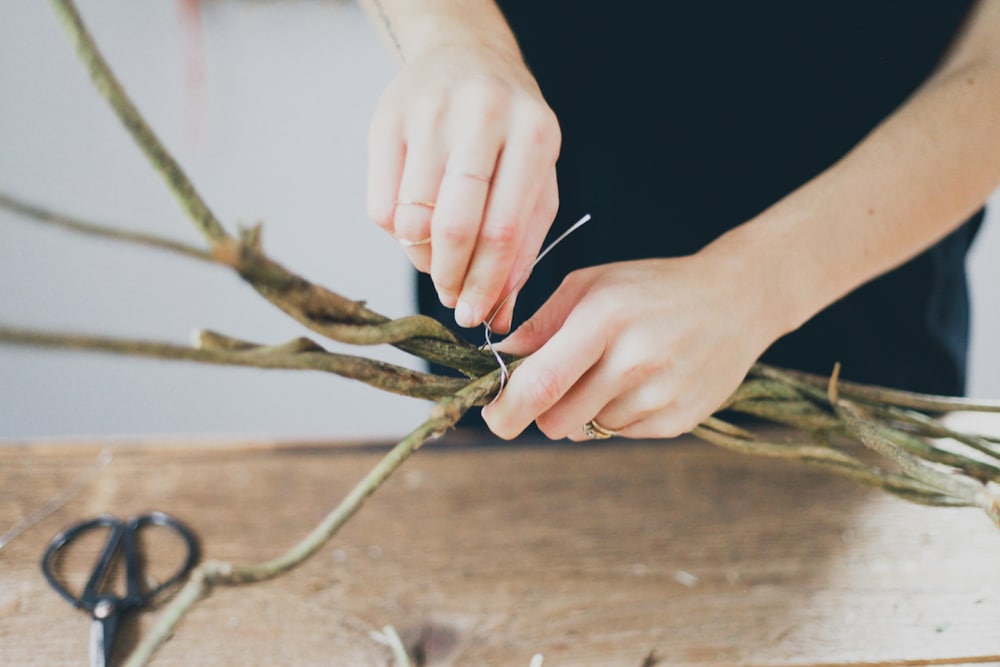
Oh, November. What a great time of year, time to ditch the rotting pumpkins at your front door and get it feeling magical for christmas time. This is a DIY to make your own seasonal wreath from items found in your own backyard, park, or garden store. Since our studio is nestled into the woods we have a large assortment of greenery, twigs, and branches to pick through.

Materials Needed:
- Assorted Greenery *We decided to use greenery that would still look nice once it is dried, so that we could leave this wreath us all season long.
- Long flexible branches
- Assortment of twigs
- Wire
- Scissors
Summer Wreath DIY
Step 1:
Prep by cutting approx 12 6″ pieces of wire.

Step 2:
Lay out your long flexible branches and create a length that will result in the size of wreath you want. Start to bind the branches together using your cut pieces of wire.


Step 3
Continue to bind with wire, and manipulate the branches until you have a desire shape of wreath.

Step 4
Bind both ends together to finish your wreath base.

Step 5
Start adding pieces of greenery, you can secure the pieces by using wire, hot glue, or simply weaving them through the base branches.
You want to have a wild natural feel, so don’t worry too much about placing your branches evenly all around the wreath. We decided to do a thin layer of greenery with holly around the entire wreath and then made it heavier with pine needles and other greens at the bottom. Letting some pieces hang over the edges longer than others.


